 Image 1 of 2
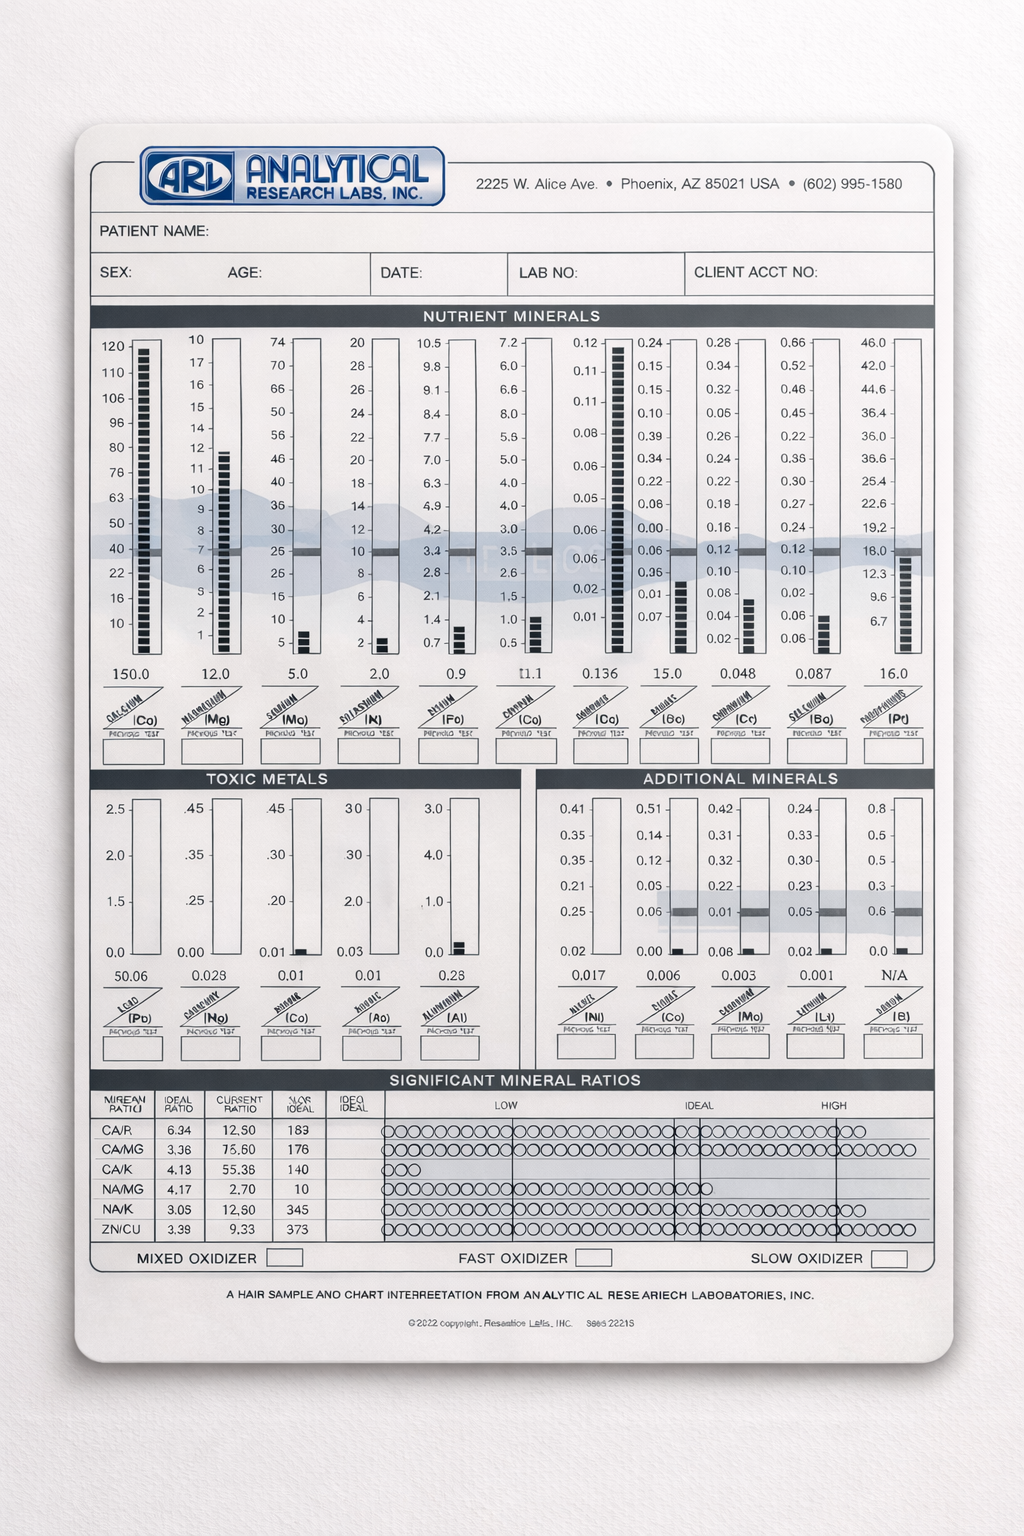 Image 2 of 2
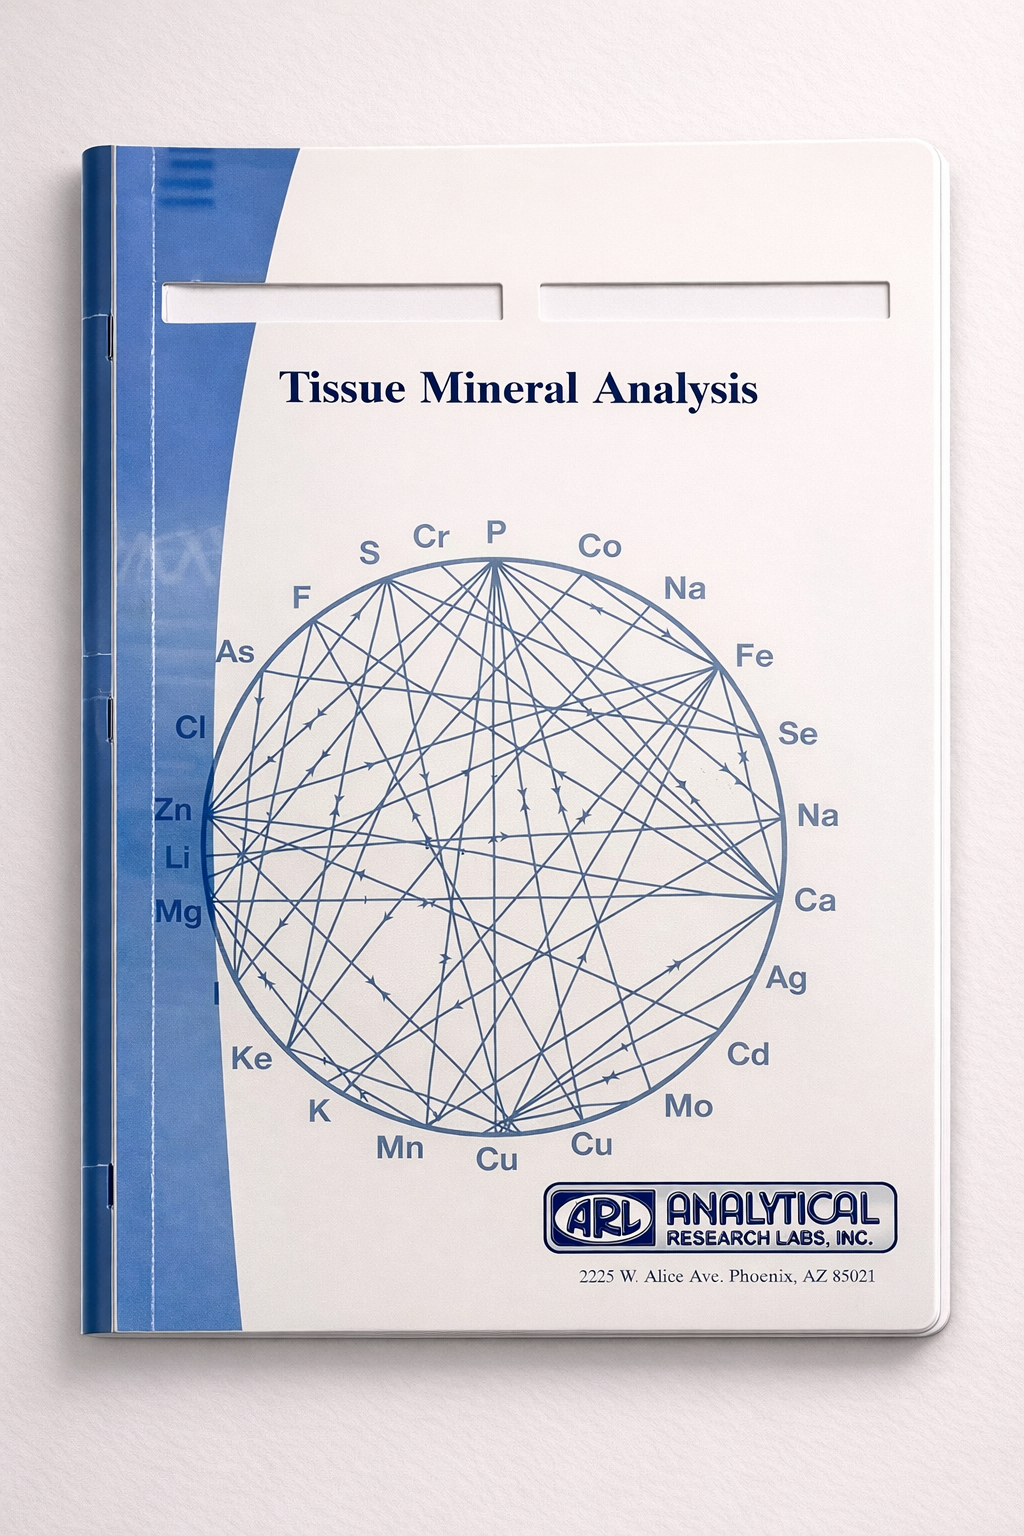
Profile II – Laboratory Mineral Assay with Interpretation
This profile includes the full mineral test from Profile I, along with a detailed interpretation. It explains important mineral levels and ratios and how they relate to metabolism, energy, stress balance, and overall body chemistry. It also includes basic diet guidance and a personalized supplement plan to help restore balance.
Clients seeking further support in understanding their results can combine this service with an HTMA consultation, which includes a one-hour consultation with HTMA Practitioner, Rebecca Badge.
Macrominerals
Calcium (Ca)
Magnesium (Mg)
Sodium (Na)
Potassium (K)
Phosphorus (P)
Trace / Essential Minerals
Iron (Fe)
Copper (Cu)
Zinc (Zn)
Manganese (Mn)
Chromium (Cr)
Selenium (Se)
Boron (B)
Cobalt (Co)
Molybdenum (Mo)
Sulfur (S)
Aluminum (Al)
Arsenic (As)
Cadmium (Cd)
Lead (Pb)
Mercury (Hg)
Nickel (Ni)
Key mineral ratios (like Ca/P, Na/K, Zn/Cu, etc.)
A graphical chart showing results vs. ideal ranges
Complete booklet with interpretation, dietary recommendations as well as supplement recommendations.